 |
|
| |
 |
General |
|
 |
 |
| |
Creating a night scene |
| |
|
|
|
 |
|
| In Activeworlds, you can change the 3d scene into a night scene. If you are a world owner, then you can change the world settings. Also modeling is involved: some models have prelight, other models shouldn't have prelight at all. |
| If you don't have a world, you can still make a night scene by using zones and skyboxes. In these cases, only a part of the world is dark. |
| |
| Changing world settings into a night scene |
| |
| For world owners : go in the menu to : Options - World - Features. |
| Before starting with new world settings, it is better to make a backup of the existing world attributes, by using a bot. In this case you make an "atdump". (see bot tutorials) |
|
|
|
|
| Max. Light Radius |
| For a night scene, here you can determine the maximum distance for the light sources of objects with the light command. (e.g. street lamps). Enter here the number of meters = e.g. 10 (=10 meters ) |
| |
| Lighting -> Shade Color (Ambient) |
| Here you determine the color of the objects , but the sky remains bright |
| White = objects at clear daylight |
| Grey or Darkgrey = the objects become dark |
| Black = some objects are even totally black, but not from the sun side. All depends on the orientation of the objects towards the sun (in the world). Roof tiles remain visible. |
| The light source of objects that have the light command , will become visible upon other objects. |
|
 |
|
|
| Lighting -> Sun Light Color (Directional) |
| If you choose black color : All the objects are black, the textures have become invisible. The sky remains bright, but the sun has become a "black star". |
| Except for objects with prelight : these objects have been modeled like that on purpose, in order to remain visible at night. Other object have been modeled like that by mistake. |
| As we told already : the light source of the objects with the light command , will make the textures visible for all the objects that are in the radius of the light source. |
| Also particle emitters will remain visible. |
| Example of a model with prelight on purpose : win-strlamp03. (see picture) |
| Example of a model with prelight by mistake: ylmaple4 (see picture) |
| If you choose Sun Light Color : blue ,then the textures will get a blue color tint. |
|
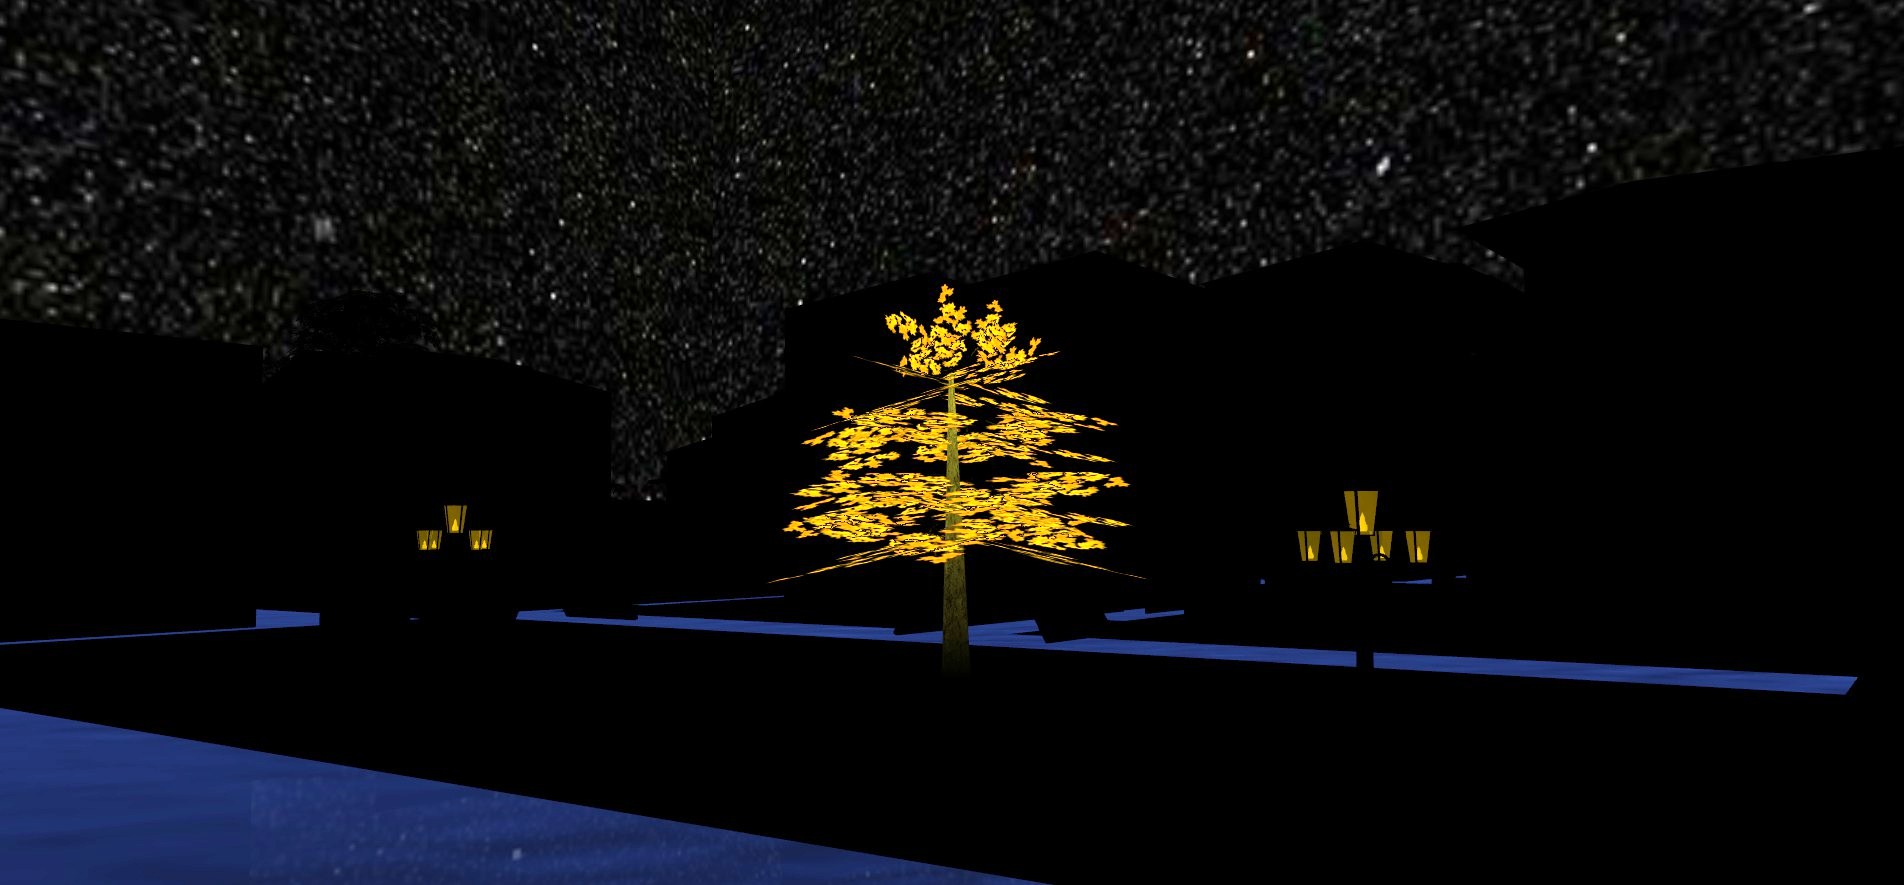 |
| Prelight models with a nightsky without clouds. All other buildings are black. The water can be made darker too. |
|
|
|
| Sky -> Skybox |
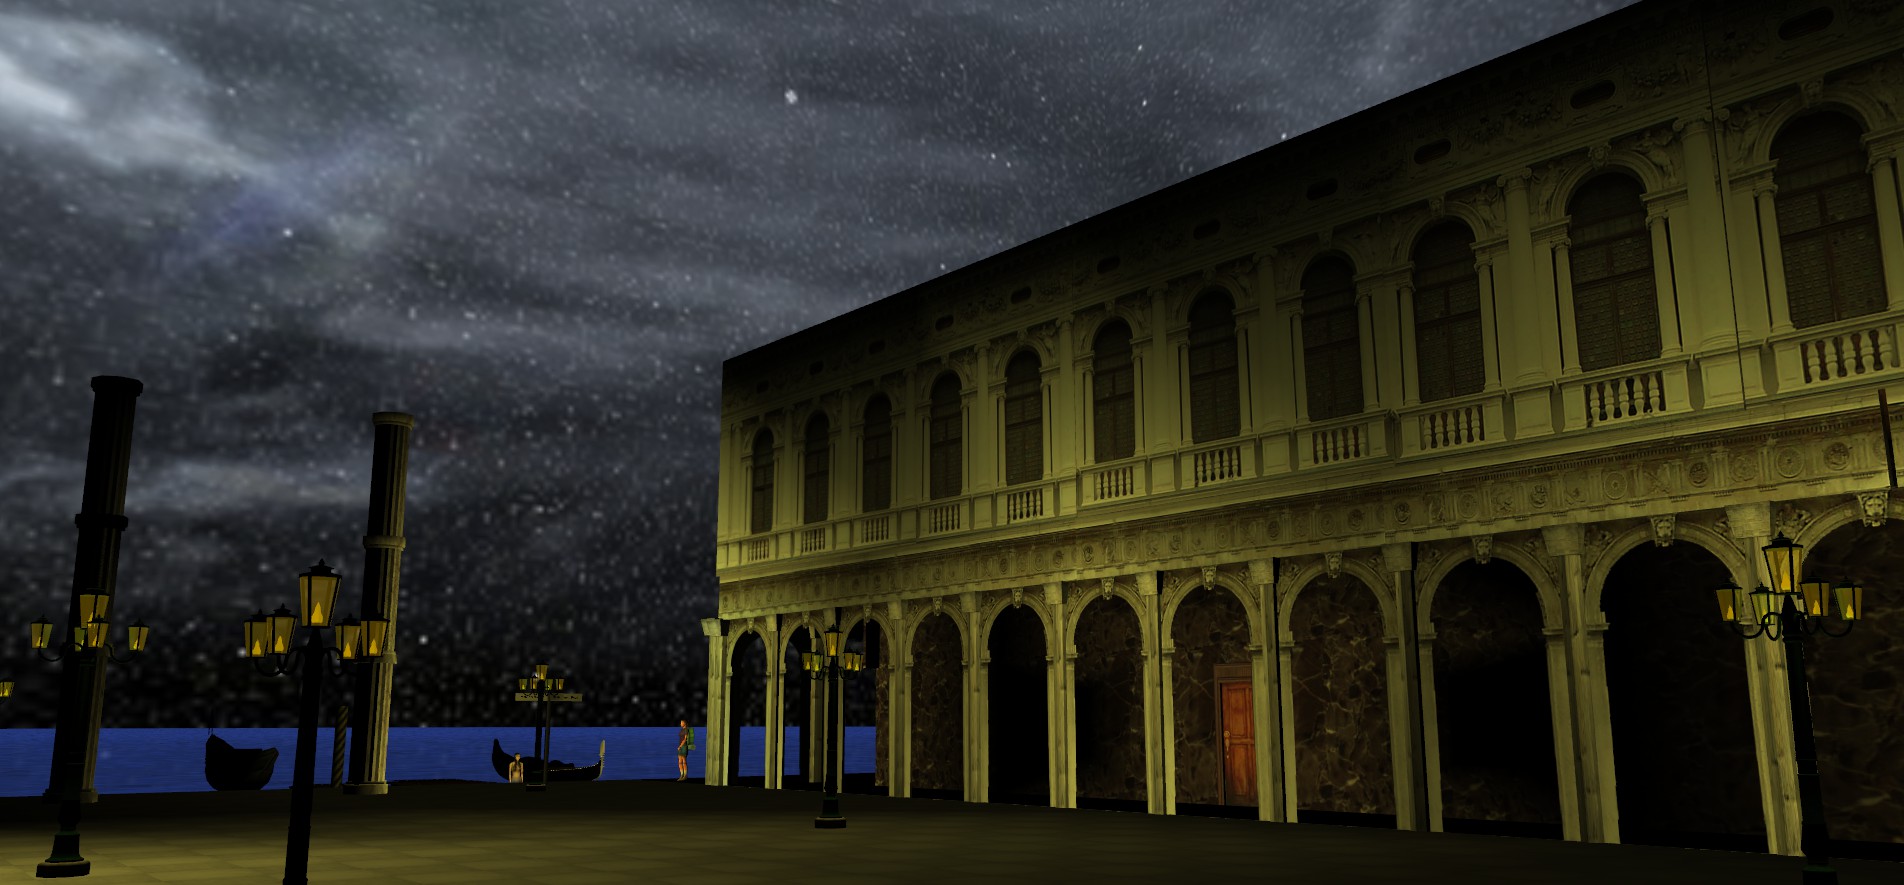
| Here you can choose to have a nightsky texture with stars. In the world Uberpath, you can find a range of skyboxes (textures) that you can use in your world. |
| Here we found an example : lnh-stars3c |
| (You can also create a yourself a skybox if none of them suits you). |
| Now you have a nigthsky with stars. You will still see the clouds. |
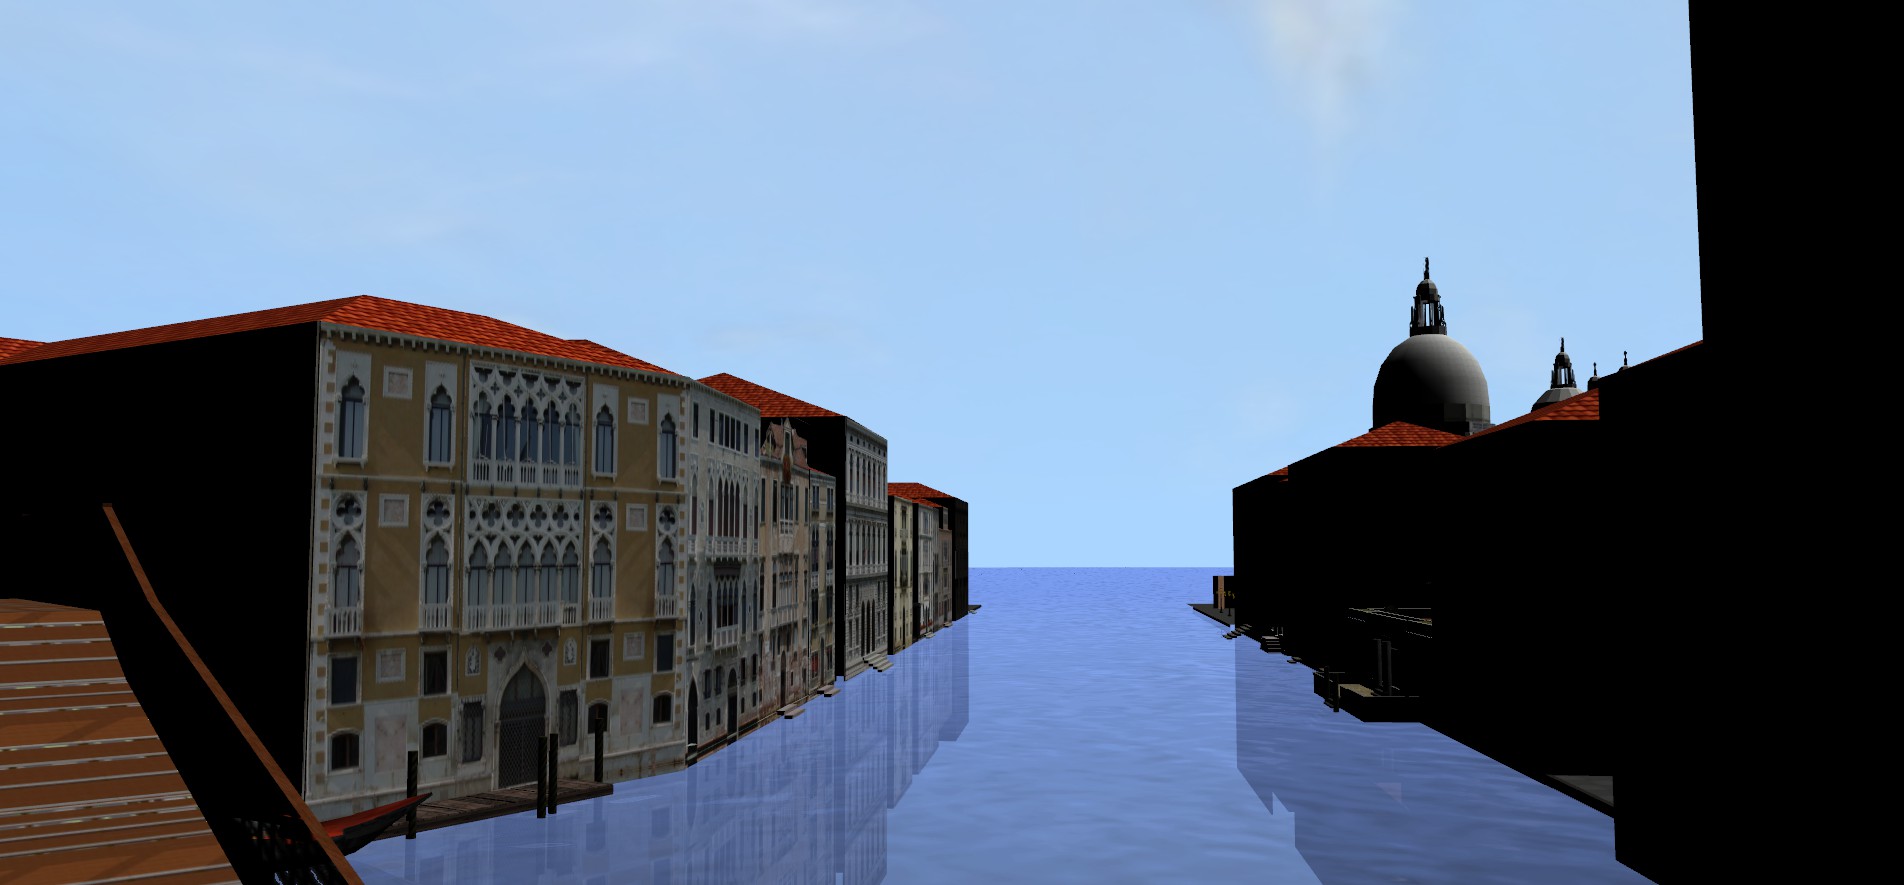
| If you choose to maintain the directional sun (=white color), then the textures will be visible from the side of the sun, but the sun itself won't be visible, the skybox with stars will be visible instead. |
|
 |
| The textures become visible again with the light command. Here the clouds cover the nightsky. |
|
|
|
| Cloud Layers -> Opacity |
| Even when you choose a skybox, the cloud layers will still be visible. |
| You can choose to keep the clouds and just make the clouds more transparant (or less transparant). Just move the slider on the bar for another opacity value. |
| Cloud Layer 1 : from 75 to 40 , cloud layer 2 : from 200 to 40 |
| If you want a clear nightsky, then you choose total opacity.But you can also choose to delete those cloud layers. |
| If you decide to go back to daylight and you want to have clouds again, then the cloud layers have normally this texture : cloud_strat1 , and the mask : cloud_strat1m |
| |
| Water -> Surface color |
| Also the water can be made darker (to even black). |
| In this case, you can choose a darkblue or darkgrey colour. |
|
|
|
|
| Creating a night scene by building a zone |
| |
| If you are a builder, you can create night scenes by using zones. |
| Or as a world owner, you can choose zones for several parts of the world (caves, dungeons, rooms without windows,..). The night scene only covers the size of the zone, but as soon as you leave the zone, you have the (global) world settings. |
| |
| For making a zone : create a new object and modify the object type into Zone, and choose the volume shape (cube / cylinder / sphere) |
| Determine the size of the zone. e.g. a cube of 10 x 10 x 10 meters |
| Then enable : block lights , and also : block world lights |
| And choose : Color: black , and then enter the zone. |
| Now you see no objects , except those that have prelight |
| Optional is : fog range, and block particle emitters. |
| |
| Leave the zone again, right-click and select the Z-icon of the zone |
| We disable again : block lights. (block world lights remains enabled) |
| When we enter the zone again, then the textures within the radius of the objects with the light command are visible again. |
| If you choose a darkgrey color for the zone, then the textures outside the zone remain visible, but become a lot darker. |
|
|
|
|
| Adding a skybox to the night-scene zone |
| |
| As a builder, you can create night scenes by adding a skybox. We already saw this skybox-tutorial for the EBTS9 contest in march (see webpage 2018news68 ). |
| |
| In this case the action command is more complex : |
| * Create a pole object ( pole1m.rwx), and a command with the zone-trigger :: |
| enter zone night , tag night on ; exit zone night on , tag night no |
| * Add a second pole : the timer command makes the skybox appear in 3 seconds |
| create timer lnh-stars3c 3000 ; at tm lnh-stars3c 2999 , tag night on |
| * Now select the Zone and add a tag name. This must be the same tag name : night |
| * Add a Particle Emitter : type: model / asset list : lnh-stars3c / tag name: night |
| release count : 1 / release time : 3600000 3600000 / Lifespan : 3600000 |
| interpolate : enabled |
| size x : 10 10 / size y : 10 10 / size z : 10 10 (you can determine the size yourself) |
| volume y : -10 -10 |
| draw behind masks : enabled / opacity : 100 |
|
|
|
|
|
|
|


